How to Engrave Perfume Bottles: A Step-by-Step Guide
If you’ve ever wanted to engrave a perfume bottle, whether to create something special for your wedding party or because you’ve fallen in love with the idea of calligraphy engraving, this guide is for you!
As a calligrapher and engraving artist with several years of experience, I’ve learned that beautiful results don’t just come from having the right tools. They come from patience, the right techniques, and a steady hand. Below, I’ll walk you through everything I use and do when engraving perfume bottles, step by step, just as I would in my own studio (aka my kitchen table 😉).

With the right equipment and technique, you can give your fragrance bottles a stunning upgrade, perfect for gifting on any occasion!
A Peek Inside My Engraving Kit
Before we dive in, a quick note: This section includes affiliate links, which means I may earn a small commission if you purchase through them, at no extra cost to you. Thanks for supporting my small business!
Want to try engraving at home? I’ve curated all my favorite tools and supplies, including the engraving machine, burrs, and finishing waxes I personally use, on my Amazon Storefront. It’s the easiest way to get started with everything in one place!
1. The Engraving Machine
Let’s start with the heart of the setup: the engraving machine.
I use the Yokefellow nail drill, which is technically made for manicures but has become a favorite among calligraphy engravers because of its precision and comfort. For the purpose of this guide, I’ll refer to it as my engraving machine.
Here’s why I love it:
• It’s low noise, low vibration, and low heat, which means your hand stays steady and comfortable for long sessions.
• It runs up to 40,000 RPM, giving you enough power to engrave smooth, clean lines on glass surfaces.
• It’s lightweight and USB powered, so it’s portable for both studio work and on-site events.
• It has never overheated, even during two separate 8-hour engraving events, a true test of reliability.
The machine comes with a handpiece and a straight cord that connects the two. Over time, the included cord can loosen and cause connection issues, so I recommend replacing it with a rugged coiled cord. I’ve used mine for nearly three years without a single interruption.
To insert your burr, simply twist the handpiece clockwise to unlock it, remove the bit it came with, insert your new burr, then twist counterclockwise to lock it in place. A long press (about three seconds) on the power button turns the machine on, and the LED dial lets you control your speed and direction.
2. Burrs (a.k.a. Bits)
The machine comes with a small set of burrs, but I recommend setting those aside. For perfume bottle engraving, you’ll want to invest in Jingling brand diamond burrs, specifically the ones with a 2.35 mm shank, which fit perfectly into the Yokefellow handpiece.
Here are the sizes I use most often:
• 1 mm – ideal for smooth glass bottles such as Chanel’s Coco Mademoiselle or coated bottles like Gucci Bloom, where I want finer, more delicate lines.
• 1.5 mm – best for frosted or slightly textured bottles like Dolce & Gabbana Light Blue. The wider groove makes it easier to fill later with acrylic ink or metallic paint without overflow.
Both are diamond-tipped, spherical burrs, sometimes called diamond grinding bits, which give that crisp, controlled linework perfect for calligraphy engraving.


3. Safety First
Before engraving anything, make sure you’re protecting yourself.
You’ll need two essentials:
• A protective mask (such as an N95) to keep you from inhaling fine glass dust.
• Protective glasses or goggles to safeguard your eyes from any small glass particles.
It’s also smart to keep a soft makeup brush nearby to gently sweep away glass dust instead of wiping with your fingers. This keeps your workspace and your lungs cleaner.
4. Drafting Tools and Layout Tips
When engraving in-studio, I nearly always draft my lettering before picking up the machine. While I can freehand at events (and often do when engraving for long lines of clients), I love the precision and calm that come from slowing down and planning a design.
Here’s what I use for drafting:
• A Micron PN pen or similar for smooth glass bottles.
• A pencil for frosted glass (easier to erase without ghosting).
• A small 6-inch clear ruler, mine’s a Westcott, to align multiple lines or ensure balanced spacing.
If you’re new to engraving, draft first. Once you start engraving, there’s no erasing, so think of your draft as a gentle map for your lettering.
For coated bottles (those with delicate painted finishes), keep your touch light while drafting. These surfaces can develop micro-scratches, so plan your layout carefully to avoid repeated erasing or redrawing. The less contact, the better.
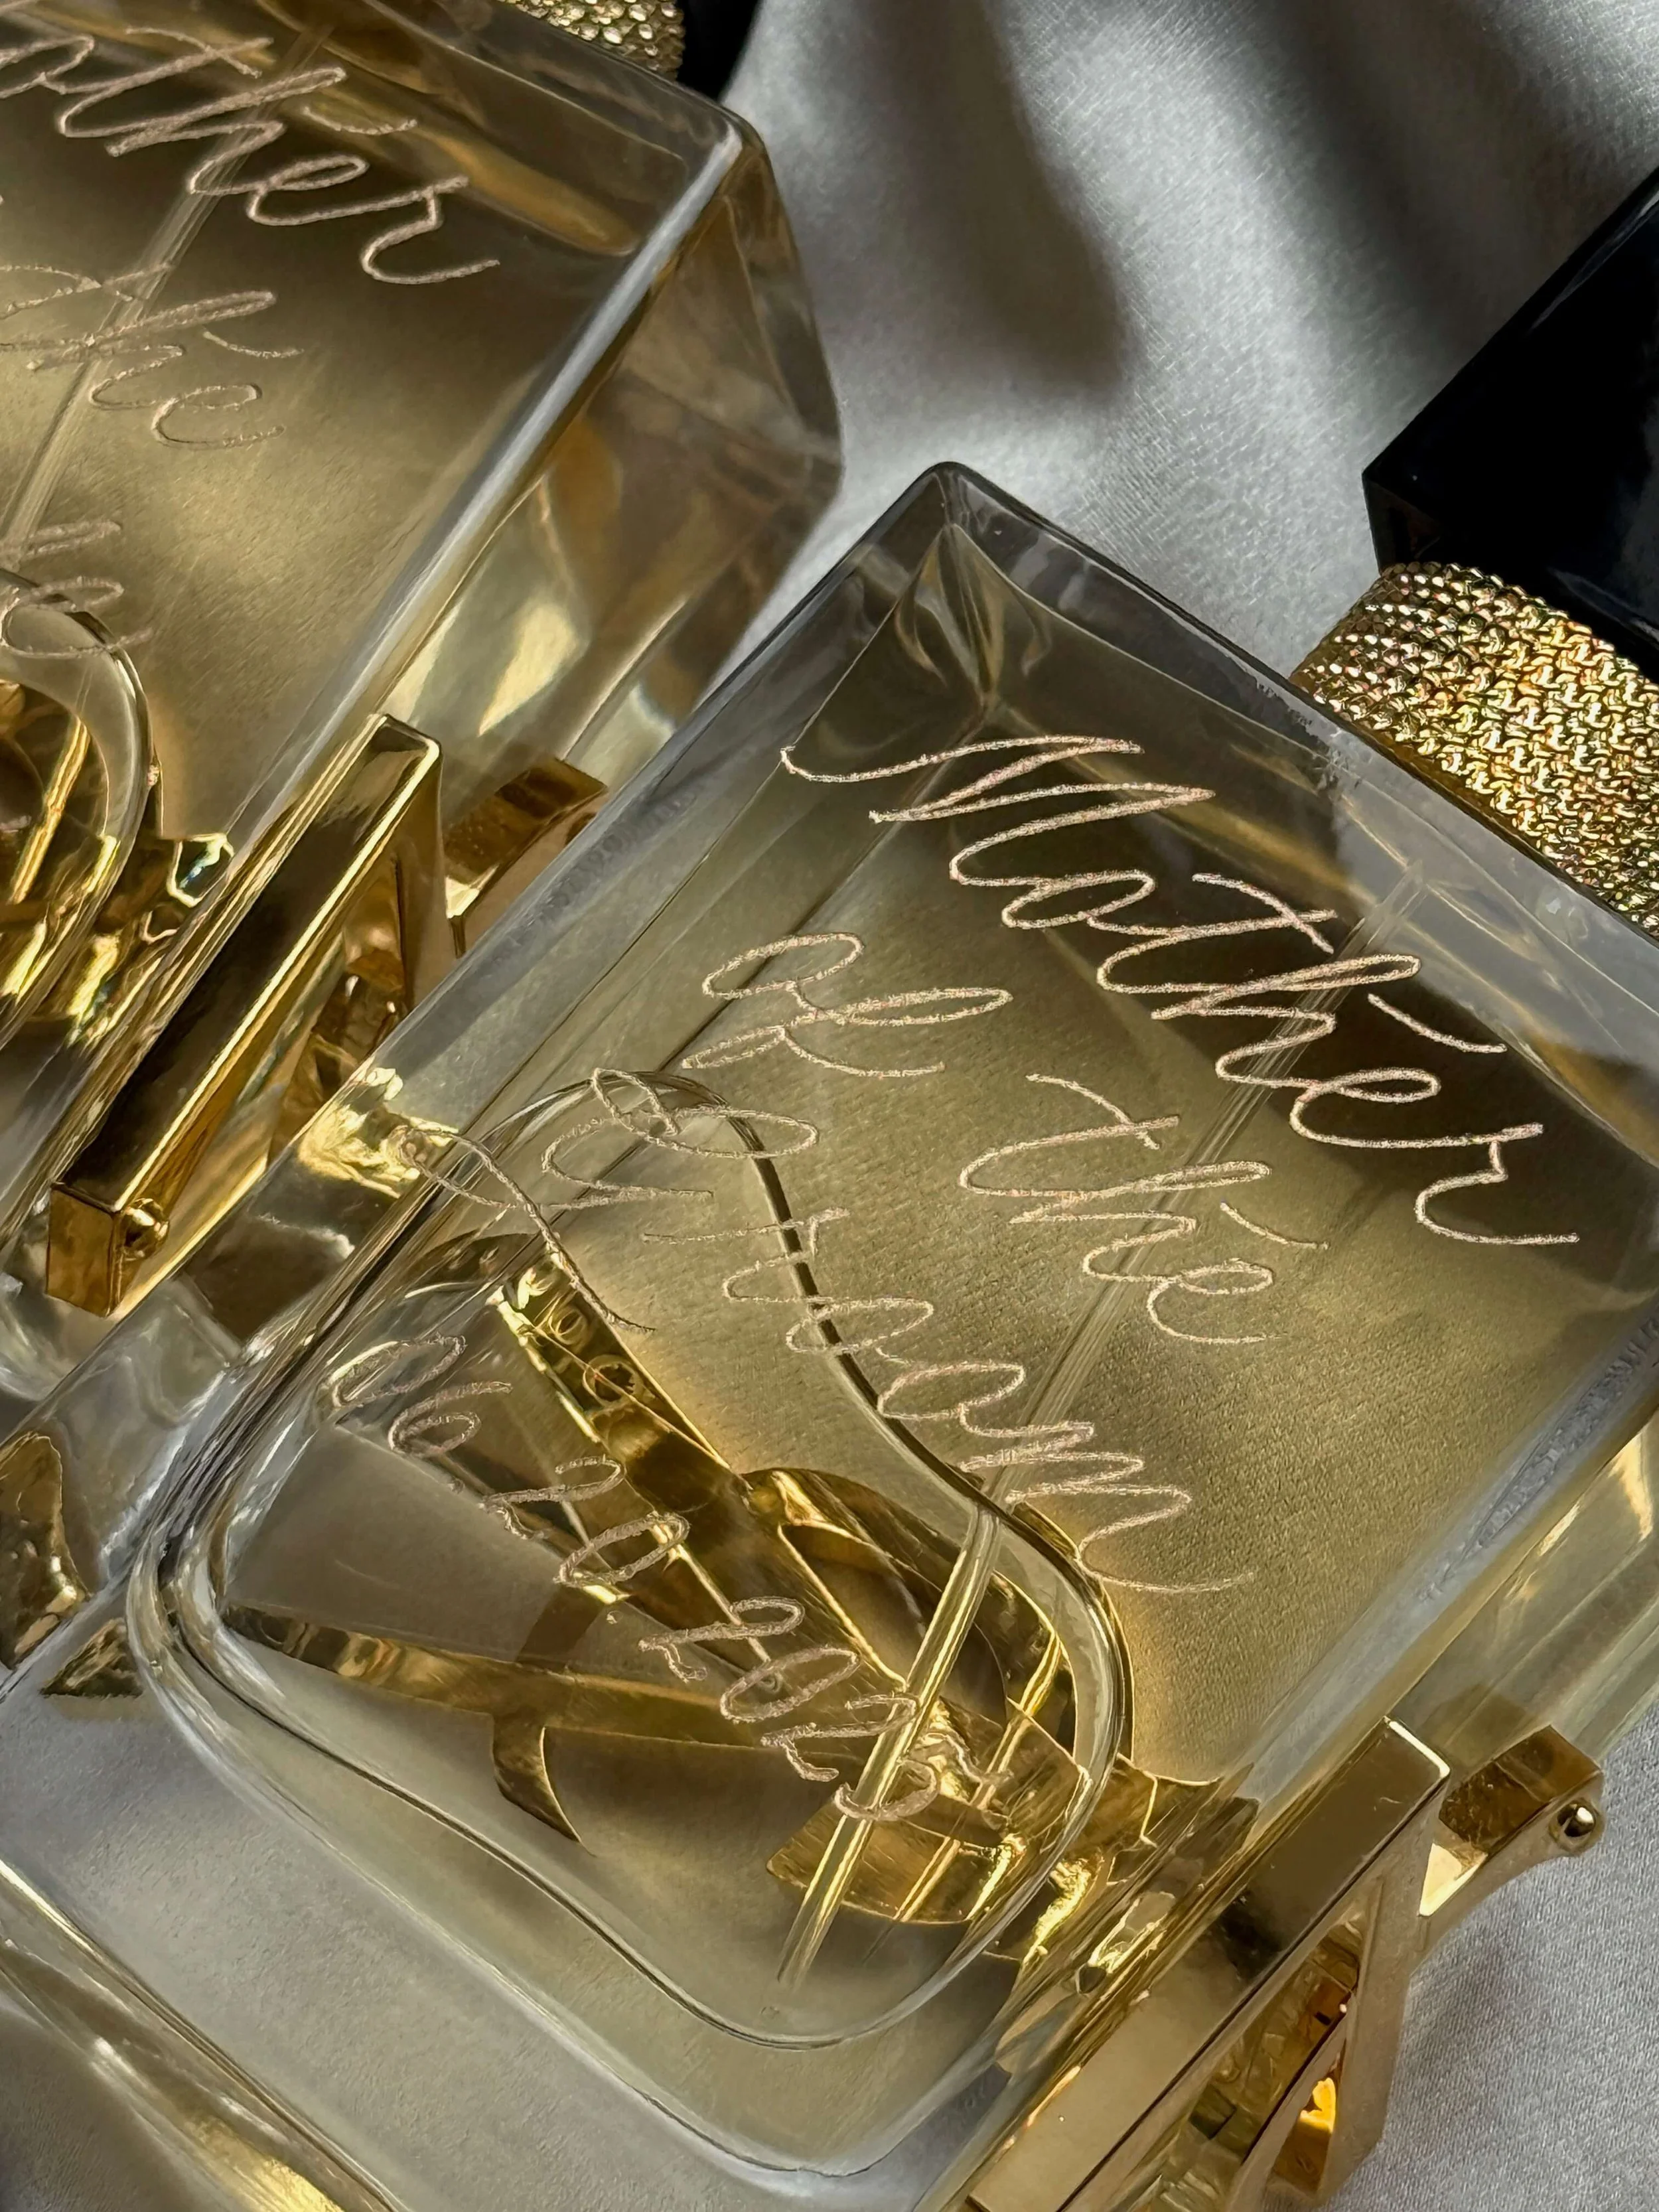
Curious how it’s done? This quick video shows my hand engraving process on a mini perfume bottle. Watch the grip, motion, and technique up close, and see how I bring each detail to life!
5. Let’s Talk RPMs
When engraving perfume bottles, my speed setting typically falls between 30,000 and 40,000 RPM. This range gives me enough power to glide cleanly across the glass while maintaining full control of the handpiece.
As you engrave, use light pressure and let the burr do the work. You don’t have to press hard at all. A steady hand and consistent rhythm matter much more than speed.
6. Engraving Comfort and Stability
Comfort and stability are what make engraved lines smooth and elegant.
I rest my bottles on a small Iowa Corn Baby pillow, which has just the right mix of softness and structure to cradle the bottle securely. The velvety cover keeps the glass from scratching, and the fill shifts slightly to accommodate different shapes.
For smaller bottles, I use a keyboard-style wrist cushion to prop my wrist or the bottle itself. These subtle supports reduce strain and keep your hand steady for long engraving sessions.
When I engrave live at events, I move quickly, there’s an energy and excitement that comes from engraving right in front of clients. But when I’m in the studio, I let myself slow down a little. Both moments have their own rhythm: one is electric and lively, the other quiet and focused.
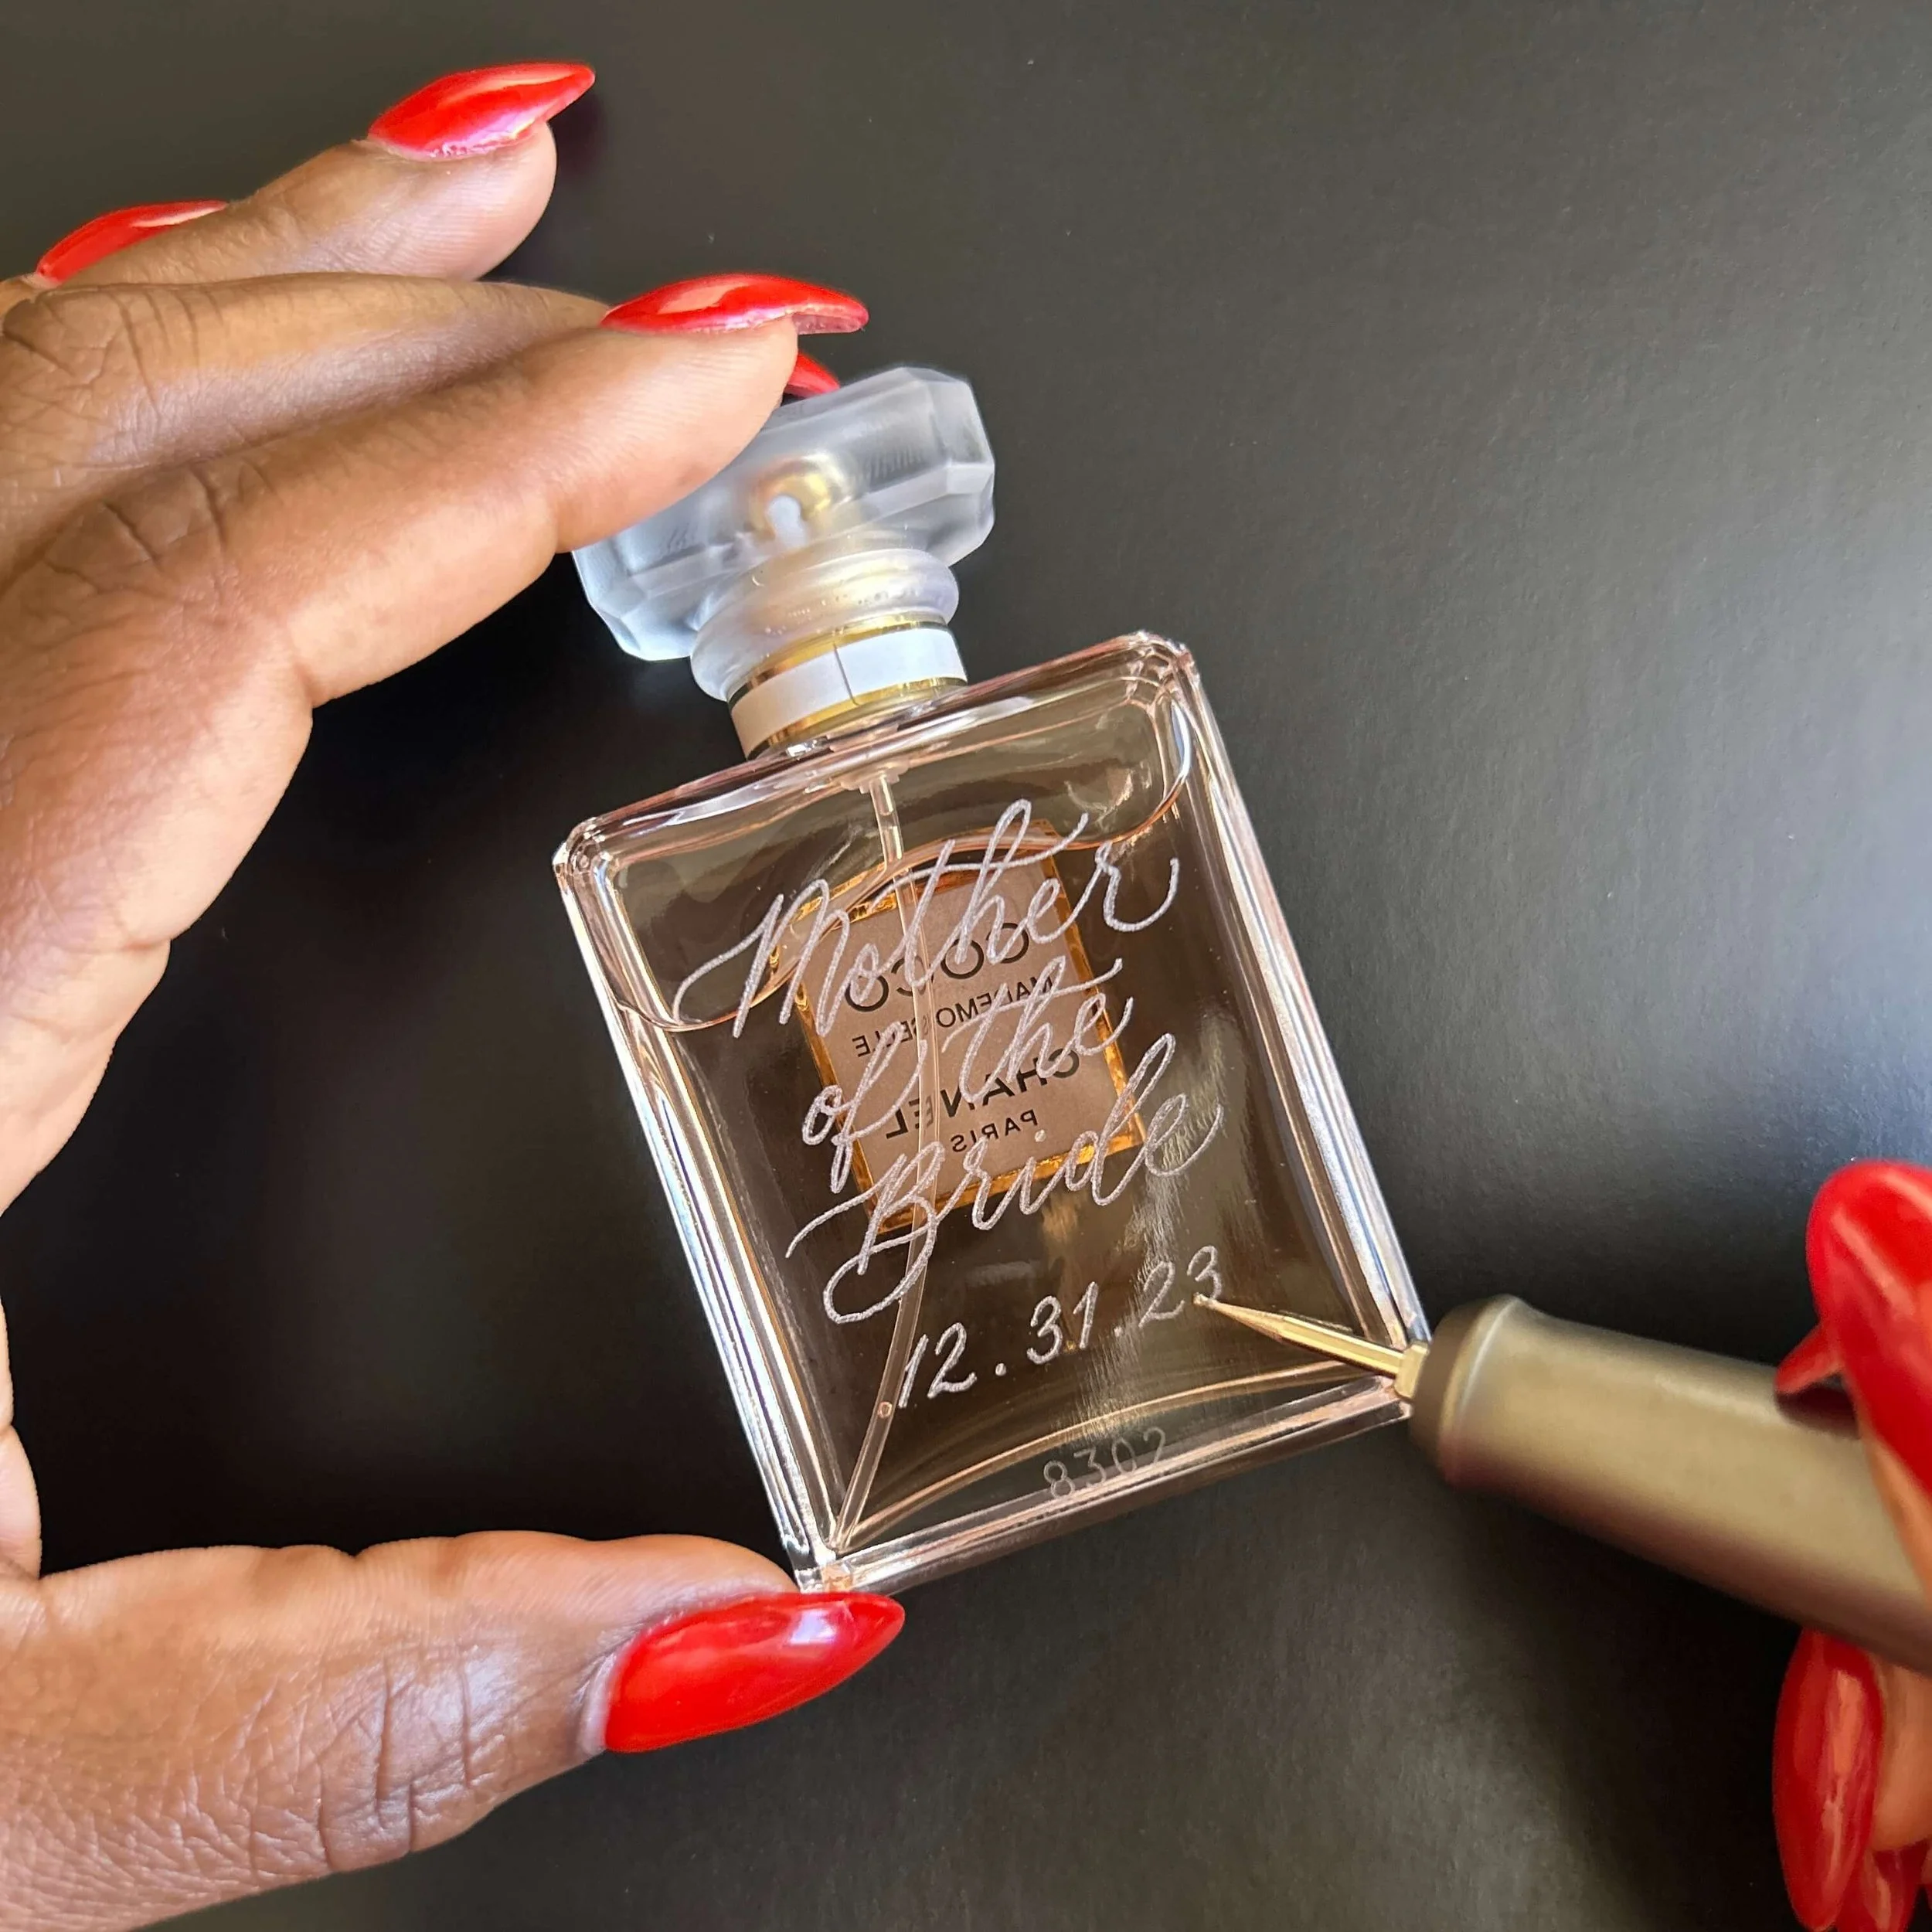


7. Cleaning Before Color Fill
After engraving, I gently wipe the bottle with a microfiber cloth lightly misted with rubbing alcohol or water. This removes leftover marker, pencil, and fine glass dust.
For coated bottles, always wipe in one direction, usually top to bottom, using the lightest touch possible. Even the softest cloth can cause faint micro-scratches if you rub too firmly.
8. Color Fill for Smooth Bottles
For smooth glass bottles, I love using gilding wax to make the engraving shine. My favorites are:
To apply, use a cotton swab or a small concealer brush, whichever you prefer. A little wax goes a long way, so apply sparingly, wipe away the excess right away, and always work gently to avoid scratching.
If your workspace is warm or in direct sunlight, move quickly because heat can dry the wax faster and make cleanup trickier.
9. Color Fill for Frosted Bottles
Skip the gilding wax here. Frosted glass is porous, and wax will cling to the entire surface.
Instead, fill in your engraving with acrylic ink applied using a calligraphy nib, or use extra-fine oil-based paint pens in metallic colors like gold or silver.
If you use acrylic ink, let it dry for at least 15 minutes (a mini handheld fan helps speed it up). If there’s any overflow, dip a small flat brush in rubbing alcohol and carefully clean the edges.
If you use an oil-based paint pen, check that the nib is fine enough to fit cleanly into your engraved lines. That’s one of the reasons I engrave frosted bottles with a 1.5 mm burr; it creates enough depth and width to accept the fill neatly.


10. Final Thoughts
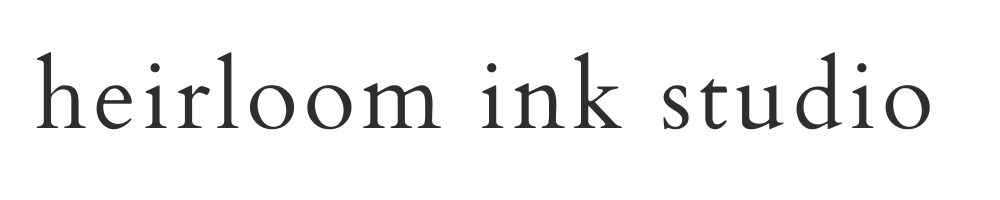
Engraving perfume bottles is part precision, part art, and part patience. Every bottle has its own personality; some glide like butter, others demand more care. The magic is in taking your time, protecting your tools and yourself, and letting your creativity guide you.
Whether you’re a DIY bride personalizing gifts for your bridesmaids or an aspiring calligraphy engraver learning the craft, I hope this guide gives you the confidence to try.
And if you’d rather skip the setup and just have a beautifully engraved perfume bottle created for you, you can always find me at Heirloom Ink Studio.